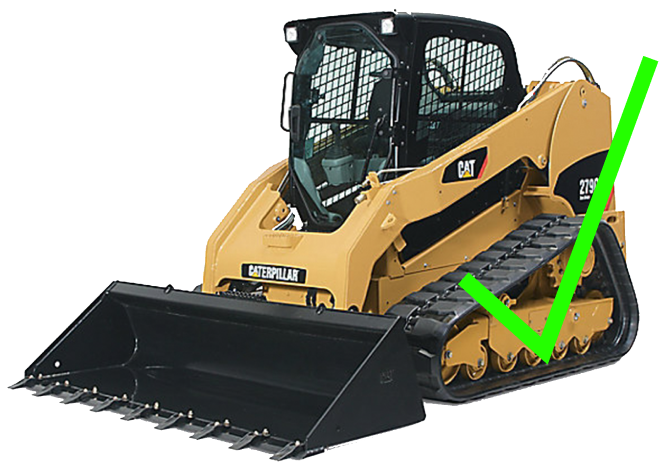
How to install a new track on a Compact Track Loader
Regular maintenance and track replacement are vital for optimal performance and longevity your compact track loader. With the right tools and a helping hand, you'll be able to tackle this task efficiently and get your machine back to work in no time! Please refer to your machine's owner manual when specific information is needed.
What You'll Need:
- Ratchet
- Correctly sized sockets for the covers, grease fittings, and pressure fittings
- Pry bar or 2 pins or pipes (to break the idler free)
- Battery-powered grease gun
- Sturdy jack stands and jacks
- A reliable friend and some refreshing beverages
Step 1: Jack Up the Machine:
Securely jack up the CTL using appropriate jacks and jack stands to ensure stability and safety during the track replacement process.
Step 2: Prepare the Adjustment Cylinder:
Remove the cover from the adjustment cylinder and release the grease. Locate the grease fitting (usually smaller) and the pressure fitting (break bleeder) inside. Use a socket to remove the grease, and one to break the bleeder valve free.
Step 3: Break the Idler Free:
Utilize the machine's hydraulics and two pins. Insert the pins into the teeth of the track just before the idler, then move the tracks forward to position the pins between the idler and the track.
Step 4: Remove the Front of the Track:
With the help of a pry bar and the pins now between the idler and track, gently walk the track off the front of the undercarriage.
Step 5: Remove the Track from the Sprocket and Rear Idler:
Use a pry bar to carefully shimmy the track off the back of the undercarriage, disengaging it from the sprocket and rear idler.
Step 6: Position the New Track:
Remove the old track and position the new track in place, ensuring it is aligned correctly with the sprocket and rear idler.
Step 7: Install the Track:
Begin at the rear of the machine, situating the track on the sprocket and rear idler first. Work your way forward to the front, making sure the track is properly aligned.
Step 8: Reinsert the Pins:
Before reinserting the pins, ensure that the teeth of the track are beyond the track frame. This will allow you to use the machine's power to walk the pins back between the idler and track.
Step 9: Clean Up Old Grease:
Clean up any old grease from the track. If using an auto greaser, refer to the owner's manual for compatibility, as some machines may require specific grease pressure that auto greasers cannot provide.
Step 10: Apply Grease and Adjust Tension:
As you add grease, observe the front idler pushing out toward the track, adding tension. Refer to the owner's manual for the correct track tension. Avoid over-tightening.
Step 11: Remove Excess Grease:
Clean up any excess grease to ensure easier detection of potential leaks in the future.
Step 12: Reinstall Covers:
Reinstall the covers to prevent debris from entering the grease fittings.
Step 13: Lower the Machine and Resume Work:
Safely lower the machine off the jacks, and with the track replaced, you're ready to get back to work with confidence.
By following these concise steps and having the necessary tools and assistance, changing tracks on your compact track loader can be a manageable task. Regular track maintenance is essential for optimal performance and efficiency, ensuring your machine operates smoothly in various work environments.
Want to watch a video of a track being changed? Click here to see Jeff from Bobcat of Buffalo change the track of a Bobcat T650!
Need a set of tracks or any other undercarriage component for your CTL? Click below to get a quote today!